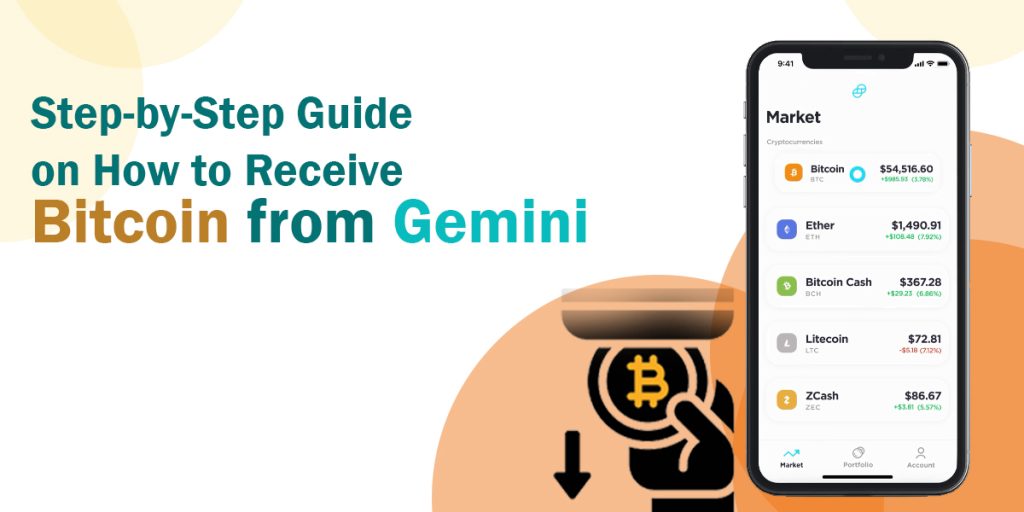
Gemini is a cryptocurrency exchange and custodian that allows users to buy, sell, and store digital currencies, including Bitcoin. To receive Bitcoin from Gemini, follow these steps:
Read More: How to Send Money from a Cash App to PayPal
Steps to Receive Bitcoin in Gemini wallet
Step 1: Log into Your Gemini Account
Visit the Gemini website and sign in to your account using your email address and password. If you don’t have an account, you can create one by clicking on the “Create a New Account” option.
Step 2: Verify Your Identity
Before you can receive Bitcoin on Gemini, you need to verify your identity. This process involves providing personal information and identity documents to confirm your identity. Depending on the verification method you choose, this process can take anywhere from minutes to several days.
Step 3: Access Your Wallet Address
Once your identity is verified, you can access your Gemini wallet to receive Bitcoin. Go to the “Wallet” section of your account and select “Deposit” to see your unique Bitcoin deposit address.
Step 4: Share Your Wallet Address
To receive Bitcoin from another user or service, you need to provide them with your Gemini wallet address. This is the address where they will send the Bitcoin.
Step 5: Confirm the Transaction
After the sender has initiated the Bitcoin transfer, you can monitor the transaction on the Gemini platform. Once the transaction is confirmed, the Bitcoin will be credited to your Gemini wallet.
Step 6: Monitor the Transaction
Keep an eye on your Gemini wallet to ensure the Bitcoin has been received. If the transaction is taking longer than expected, you may need to contact the sender or the service you’re using to initiate the transfer.
Step 7: Use or Secure Your Bitcoin
Once you have received Bitcoin on Gemini, you can use it to make purchases, trade it on the exchange, or store it in a secure wallet for long-term investment. Remember to keep your Bitcoin safe by using strong passwords, enabling two-factor authentication, and regularly backing up your wallet.
Conclusion
In conclusion, receiving Bitcoin on Gemini involves logging into your account, verifying your identity, accessing your wallet address, sharing it with the sender, confirming the transaction, monitoring it, and using or securing your Bitcoin.

