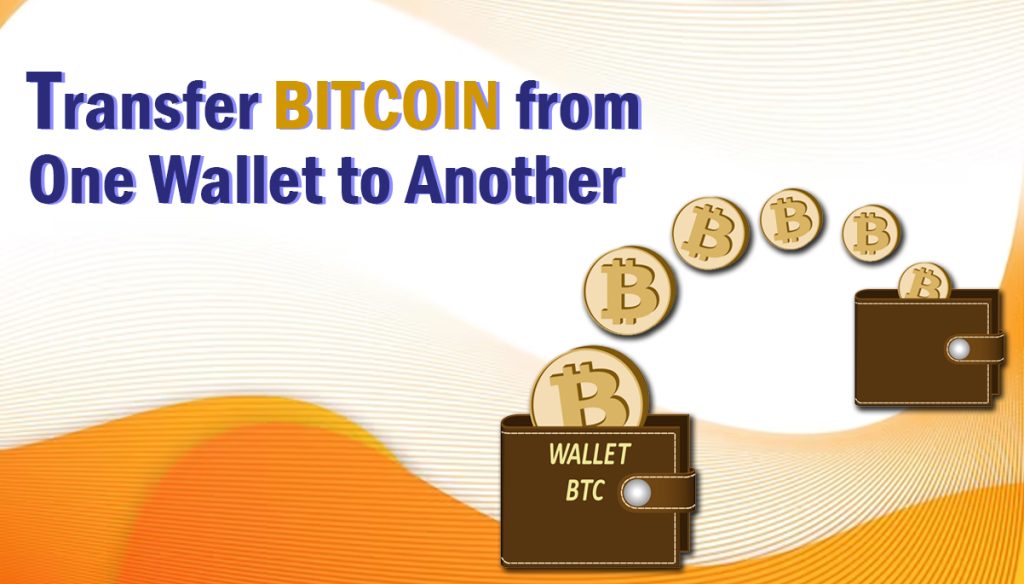
Transferring Bitcoin from one wallet to another is a common task for cryptocurrency users. This process involves generating a receiving address, initiating the transfer, setting the amount, and confirming the transaction. In this guide, we will explain the steps of how to transfer Bitcoin from one wallet to another, ensuring a secure and efficient transaction.
Read More: How To Send Money From Cash App To Venmo
Steps To Transfer Bitcoin From One Wallet To Another
Step 1: Choose Your Wallets
Select the wallets you want to use for the transaction. Ensure that both wallets are compatible with Bitcoin and are secure. Compatibility is crucial because not all wallets support the same types of transactions or cryptocurrencies. Security is also important to protect your Bitcoin from unauthorized access or theft.
Step 2: Check Your Bitcoin Balance
Verify the balance of your Bitcoin wallet to ensure you have sufficient funds for the transfer. This step is essential to avoid sending more Bitcoin than you have or accidentally sending Bitcoin to the wrong address.
Step 3: Generate a Receiving Address
In the receiving wallet, generate a new receiving address to which the Bitcoin will be transferred. This address is unique to each transaction and should only be used once. Using a new address helps maintain the privacy and security of your Bitcoin transactions.
Step 4: Initiate the Transfer
Access the transfer function in your sending wallet and enter the receiving address and the amount of Bitcoin you wish to transfer. Double-check the receiving address to ensure it is correct, as Bitcoin transactions are irreversible.
Step 5: Set the Amount and Confirm
Confirm the transfer by entering the amount of Bitcoin you wish to send and any additional transaction details, such as network fees. Network fees are optional but can help prioritize your transaction in the Bitcoin network.
Step 6: Transaction Confirmation
Wait for the transaction to be confirmed on the Bitcoin network. This process may take some time, depending on network congestion and transaction fees. Network congestion can cause delays in transaction confirmation, while higher transaction fees can help your transaction be confirmed faster.
Step 7: Monitor the Transfer
Keep track of the transfer status in both wallets to ensure the transaction is completed successfully. This step is crucial to avoid any potential issues or errors during the transfer process.
Step 8: Receiving Wallet Confirmation
Once the transfer is complete, the receiving wallet should display the received Bitcoin. This confirmation ensures that the Bitcoin has been successfully transferred to the intended recipient’s wallet.
Step 9: Security Reminder
Always ensure the security of your wallets by using strong passwords, enabling two-factor authentication, and backing up your wallets. Strong passwords and two-factor authentication help protect your wallets from unauthorized access, while backing up your wallets ensures that you can recover your Bitcoin in case of a loss or theft.
Read More: Is It Possible to Transfer Funds from Cash App to Venmo Directly
Conclusion
Transferring Bitcoin from one wallet to another requires careful consideration and adherence to specific steps. These steps include selecting compatible and secure wallets, verifying the Bitcoin balance, generating a receiving address, initiating the transfer, confirming the transaction, and monitoring the transfer. By following these steps and maintaining the security of your wallets through strong passwords, two-factor authentication, and backups, you can ensure a successful and secure Bitcoin transfer between wallets.